Thursday, July 24, 2014

Removing seamlines from canopies

On my last build the VF-0S the canopy came with a nasty seamline, it took me months to decide which of the many techniques around the net to use, I opted for a mix of techniques and, as you can see on the gallery had great results, fist, here are the videos of the two techniques that I used:


Basically what I did was to remove the seamline with the back of an exacto knife, then sand with WET 400 grid sanding paper, after that the 1200 DRY sanding paper, and polish it with the toothpaste with a barely wet soft cloth, I highly recommend this, you'll be surprised how cheap and easy this is.
Hope you try it with some great results.

Thursday, June 26, 2014

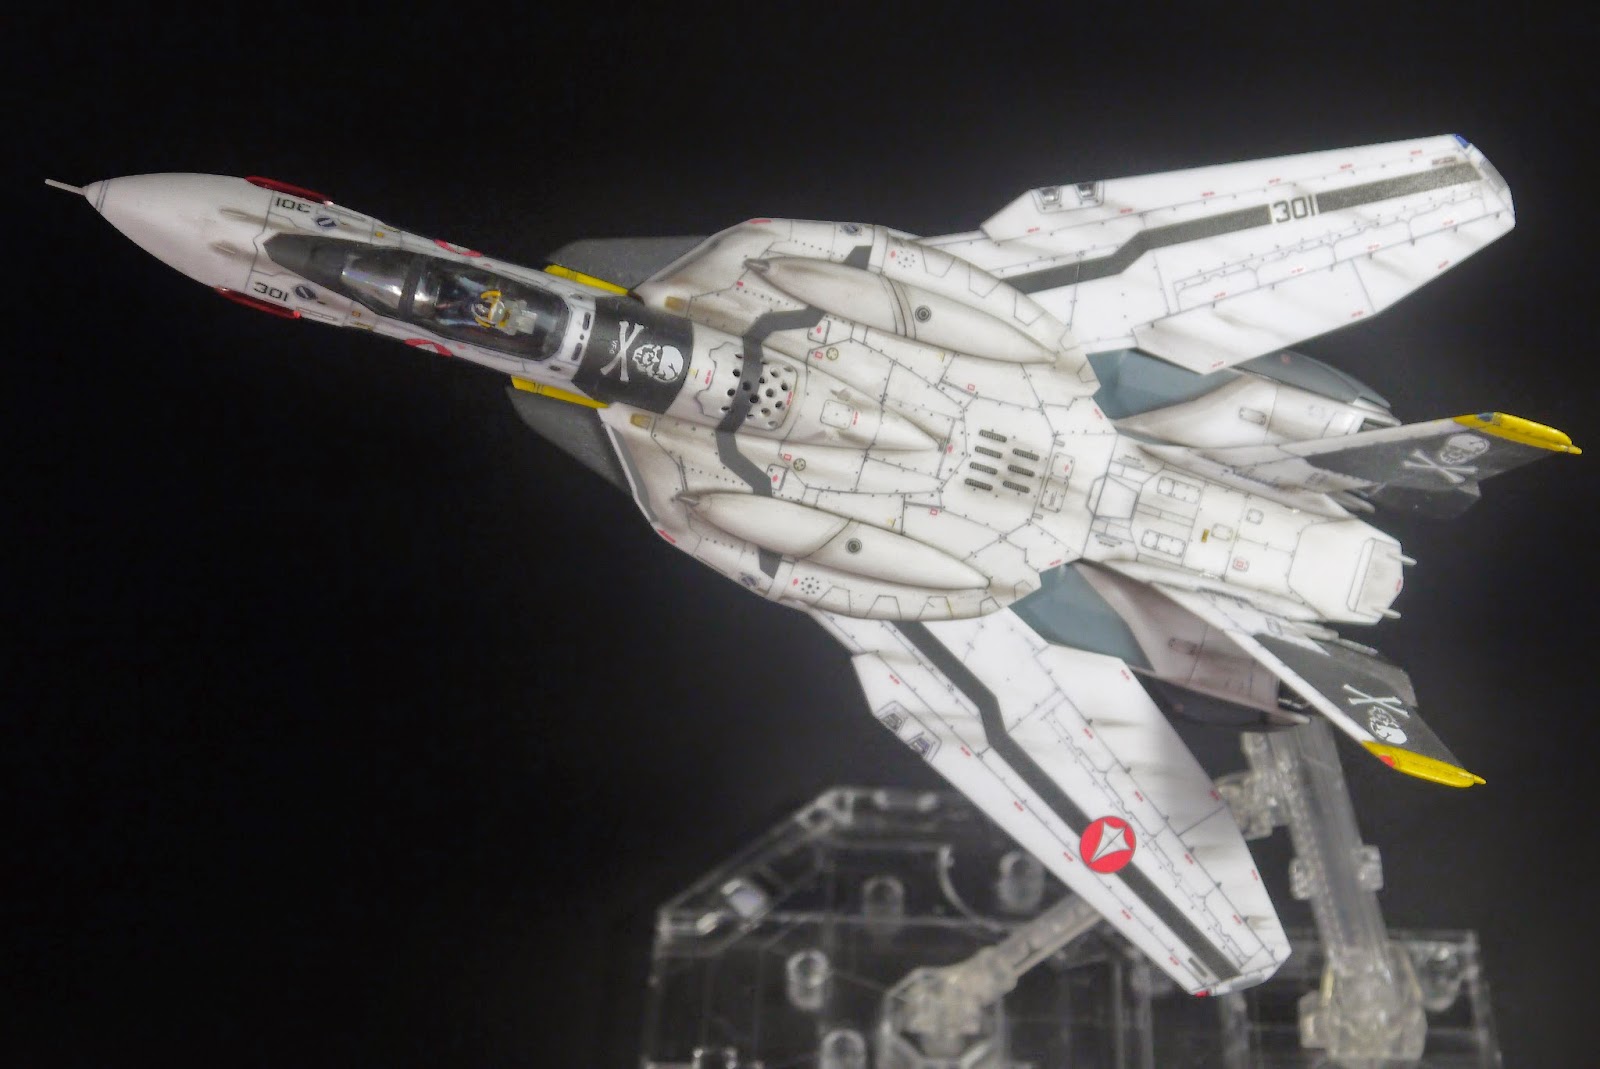
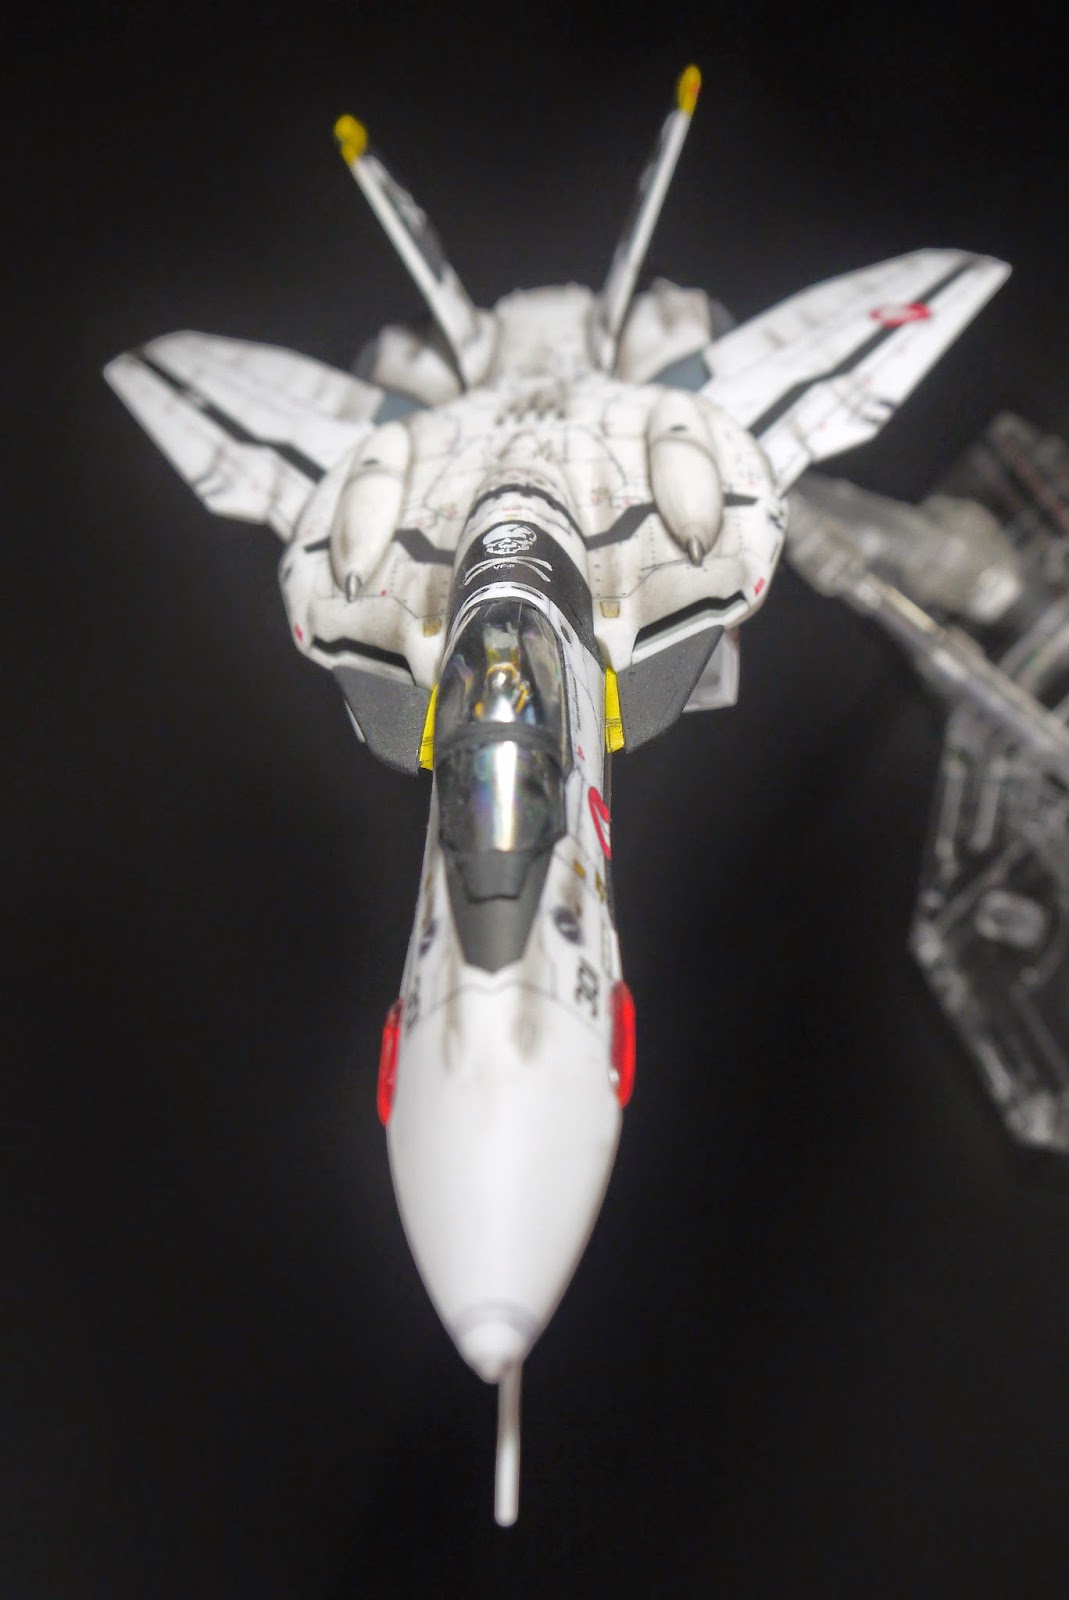
VF-0S (jet mode)


I finished this a few days ago, but I didn´t had the time to take some pics for the gallery until now, so here it is, what can I say, like most hasegawa kit's this looks simple but it can get very complicated, there are some fit problems as well but when you start to buld a hasegawa model you have to be aware that those are pretty common on the brand, but the model once finished looks awesome, the only "extyra problem I had was the seamline on the canopy, but that was very easyly removed woth the toothpaste technique.
so here it is the Hasegawa 1/72 VF-0S


this kit is awesome but it requires some extra love, some fit problems, seamlines and mold release marks, but with supreme detail, amazing decals this kit is a looker
I'll say it's a 8 out of 10

Sunday, May 11, 2014

VF-11b Thunderbolt

It's finally here, my gallery/review for the 1/72 VF-11b thunderbolt by hasegawa:

Like allways with hasegawa kits the detail is excelent, but you'll have to take alot of extra time to paint and fix some details. 

As you can see clearly on the picture bellow a drop of superglue fell inside the canopy, and I didn´t knew this untill I removed the masking tape from the plastic, wich in my case is allways the last thing I do.


To be honest, for me this model lacks exitement, mainly because of the limited options you will have in personalizing it, I think it should include high visibility and low visibility waterslides, it only has half of the high visibility decals, for example, the "no step" it only comes in black, so by default you can´t paint this plane in a dark colour (like I was planning to do) 

Speaking of decals, I found alot of people complaining on the quiality of the ones included with this kit, mainly they complain about decals that don't bend even with alot of setting liquid, but I on the other hand think they are almost as good as the ones that come with the VF-19A, yes they require a little more setting solution, but the details are amazing and they are cut almost on the edge of the print, so youll have very little of "extra decal".

There are some pieces (like the biceps of the arms) that the manual tell's you to paint, but you won't see them at all. 


 Some clear parts dont fit, you'll need to do alot of sanding if yu want them to fit perfectly


Also, it feels like alot of unecesary extra parts are included, shure you see some of those but they come separated from a piece that could come in one piece.


I over didi it with the weathering... 


As you can see here, it is a small kit, it even feels like a 1/100 scale plane compared to almost every other 1/72 Valkire 

My overall thoughts are: this kit could be alot more simple, and more fun with the adition of a few decals, it feels tiny, this is by far teh worst hasegawa kit I have builded, but as allways with that brand, once you finish the kit you'll have a fine looking plane
6/10

Sunday, April 27, 2014

VF-11b (work in progress)

I've done some advances on this kit, but it's taking too long to complete, mainly because of work and the fact that I need to re-suply some of my modeling materials, and to do that I need time, also, I wanted to do something diferent with the strpe pattern, but I never came up with any nice idea for this model, oh, by the way, lineart has been very helpfull when I do custom colour scheemes, so I'll try to post some as soon as I get my hands on the images, so here it is, my progress on two (maybe three?) months of work on the hasegawa 1/72 VF-11b


so far I dont have any complaint about this kit with the exeption of having too many "extra parts" small pieces that could be part of the biger piece where its assembled, this kit has lots of those.

when I ran out of cement I tried to but another bottle of it, but the store ran out, so I bought the tamiuyas extra thin cement, and I must say it works like a charm, but sometimes you will still want to use the normal cement on some parts.


I'm hoping my next post about this kit will be when it's completed, if work keeps 

Saturday, March 15, 2014

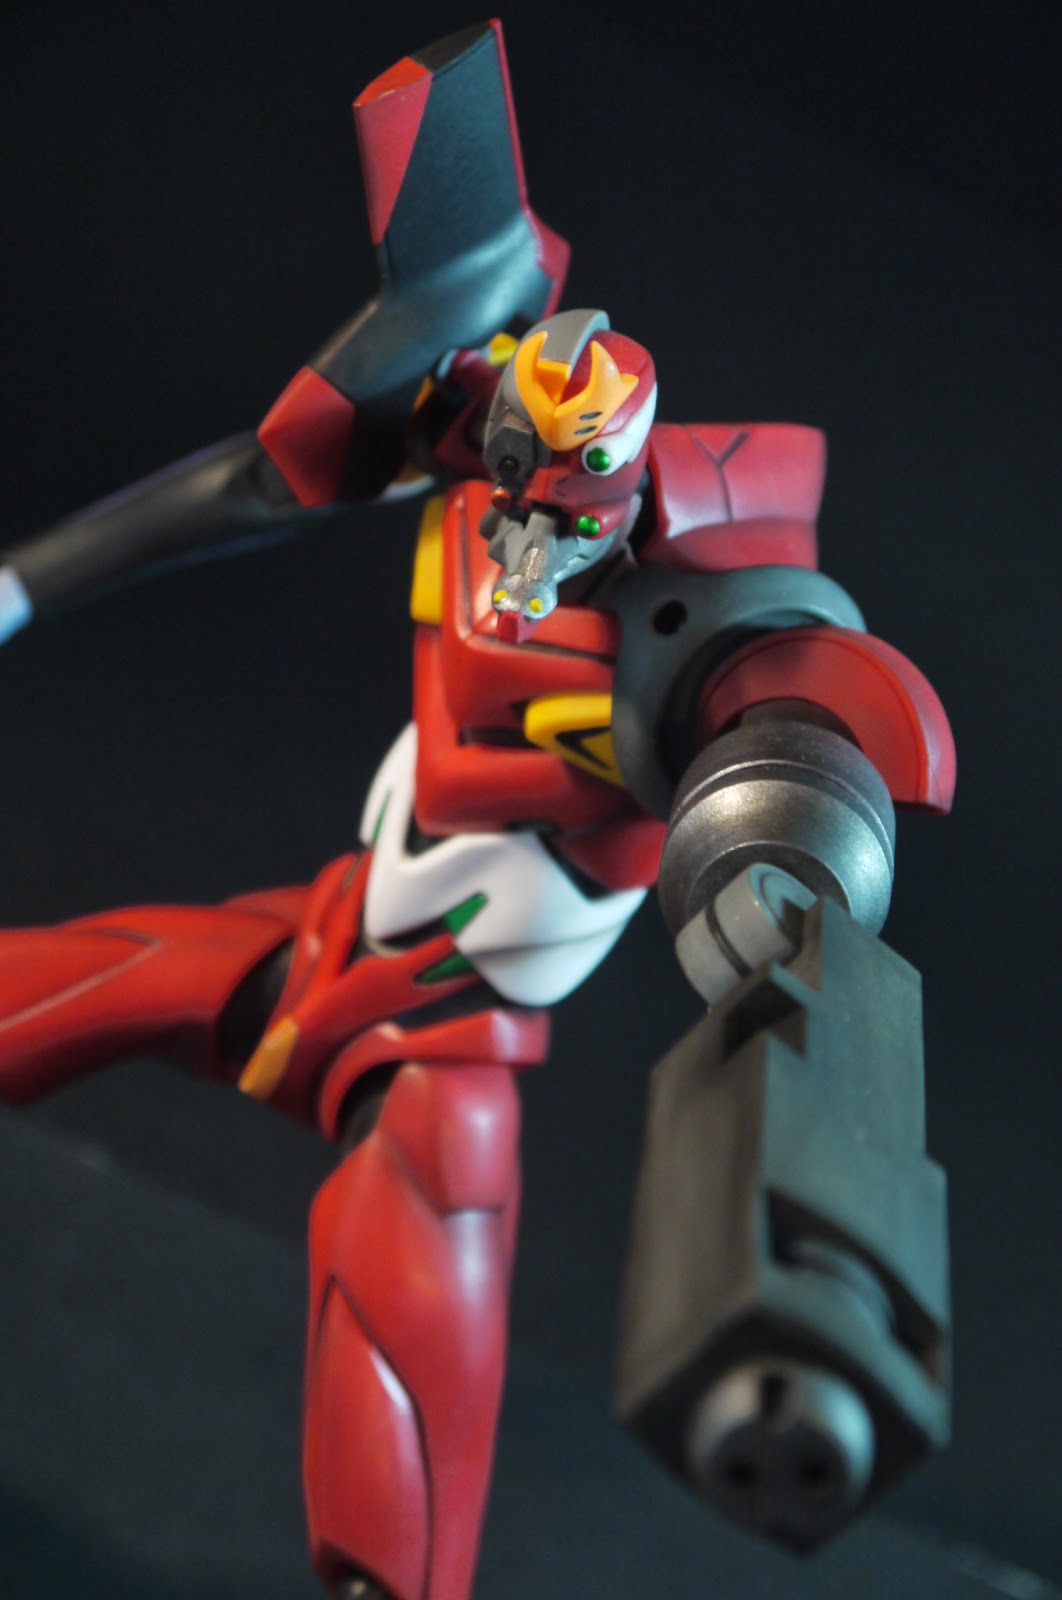
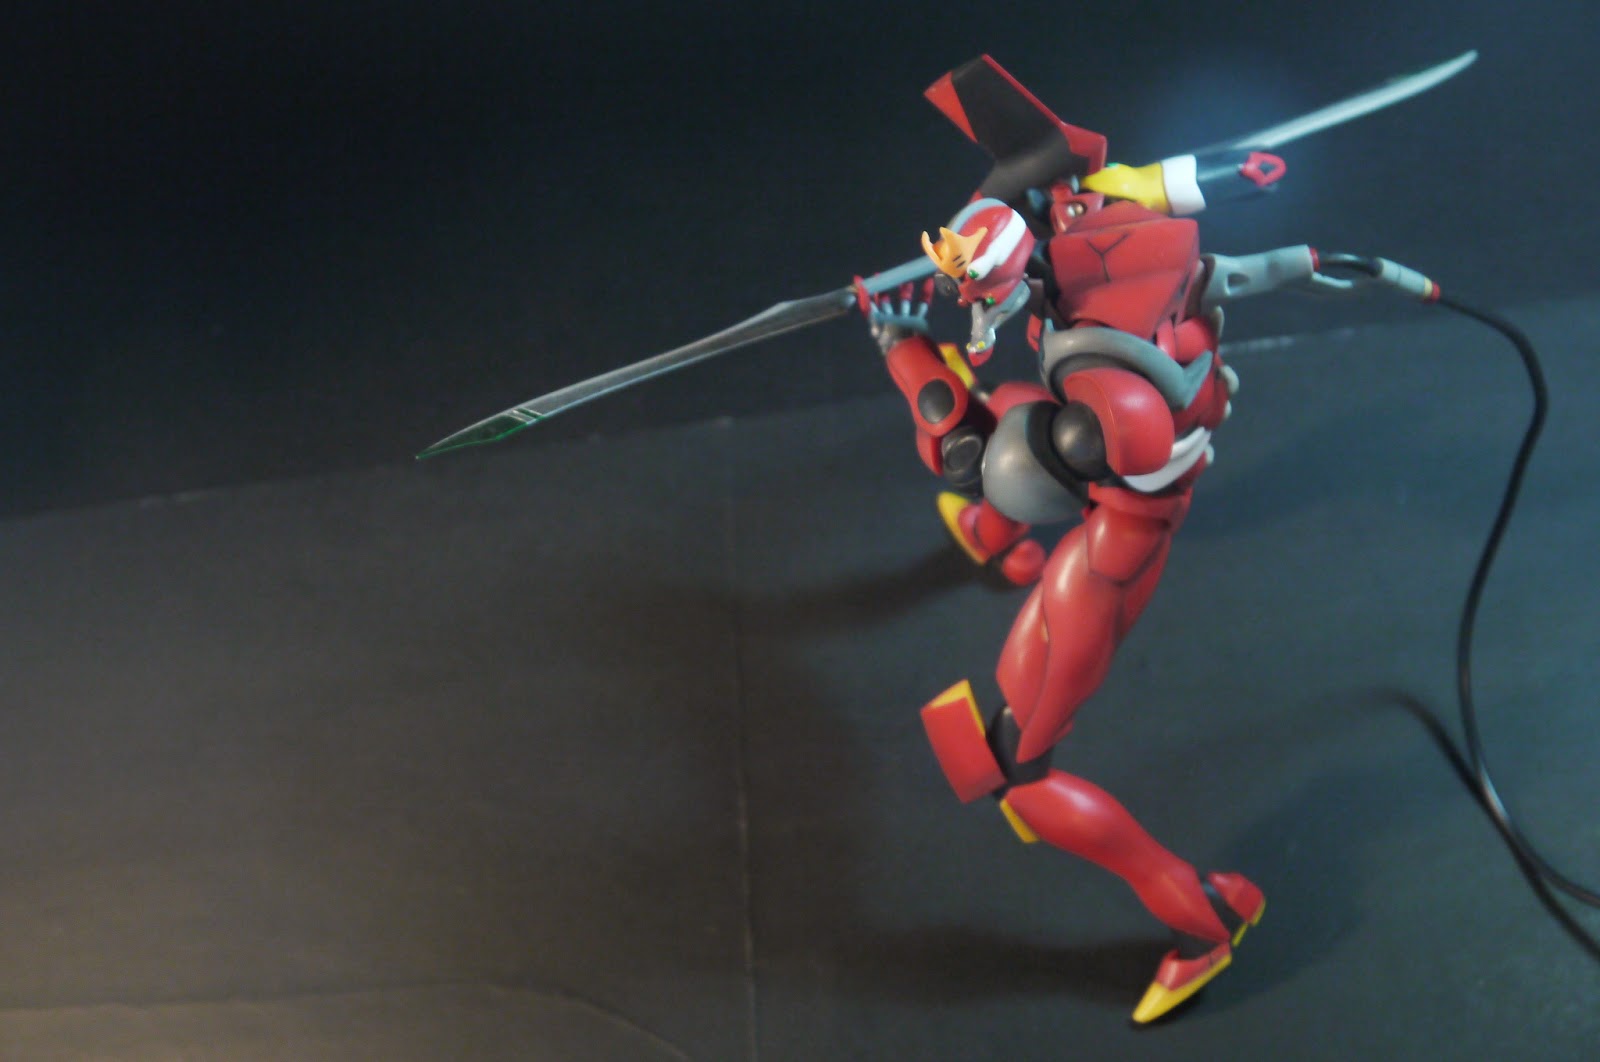
Evangelion Production Model 02 Gamma

I't took me 3 weeks to finish this kit, but finally here it is the gallery/review for the Bandai Evangelion Production Model 02 Gamma:

Overall it is a great kit the usual bandai quality it terms of the plastic itself, it is what this company always does, tight fit, but not too much attention to detail, and the thing that I don´t like at all about the evangelion kits the hands..

This kit took me allot of time, but i decided to add cement and sand almost every single part of the limbs. 


Even without paint or cement you'll have a great looking kit, if you decide not to glue the pieces, the fit is almost perfect, because of that the line between pieces will be almost invisible.


This new envagelion units are taller and bulkier that their predecessors, a nice touch if you ask me.


on the con list first as always are the hands, this kit comes with one right arm and three hands for it, and three left arms, one left hand... oh and that left hand is not meant to hold any weapon... WHAT THE HELL BANDAI????
they give you a sword that can be split in half, but no means to hold both swords at the same time, that its just stupid, and bandai has been making this same mistake with Evangelion since the very first ones.


another thing I don't like is the color separation on some parts like the shoulder armor bandai give you a decal for the upper red instead a piece of plastic and for the rear red part you'll have to paint than, not even a decal like in the old days.


this kit could also improve if it had some clear parts like on the eyes and the lights on the torso.


Articulation it's great, the left arm, the one with the claw has limited movement on the shoulder, but that's to be expected.


Legs also have great articulation with the exception on the feet, due to the armor around them, they barely move.


I miss the chicken neck.


this kit it´s a classic bandai kit, looks great even if you don't do too much work on it, and the classic mistakes from bandai, the hands are the worst of them all and they have been doing the same mistake for more than 10 years, so I guess when they release unit 13 (if they ever do it) they will include the 4 arms 10 right hands and one left hand.
  

My score for this kit is a 7 out of 10
Rememeber this is just a personal opinion i'm not a pro in neither doing a reviews for model kits or building them.