
From the moment I saw unit 13 on rebuild of evangelion 3.0 I wanted a kit of it, Bandai released the first 3.0 kits without much success it seems since they're always on sale, I think those are great kits for the price, Unit 02 plastic looks cheap and has little problems with the proportions of the head as we can see on the compassion between it and the Kotobukiya's unit 02 beta, the other bandai kit from this movie was unit 08, wich is amazing if you get rid of the pink, like I did, but after that bandai stoped from doing evangelion kits giving a chance to kotobukiya to shine, and they have released some great looking kits so far but, are they worth the way higher price tag compared to the bandai plastic models?


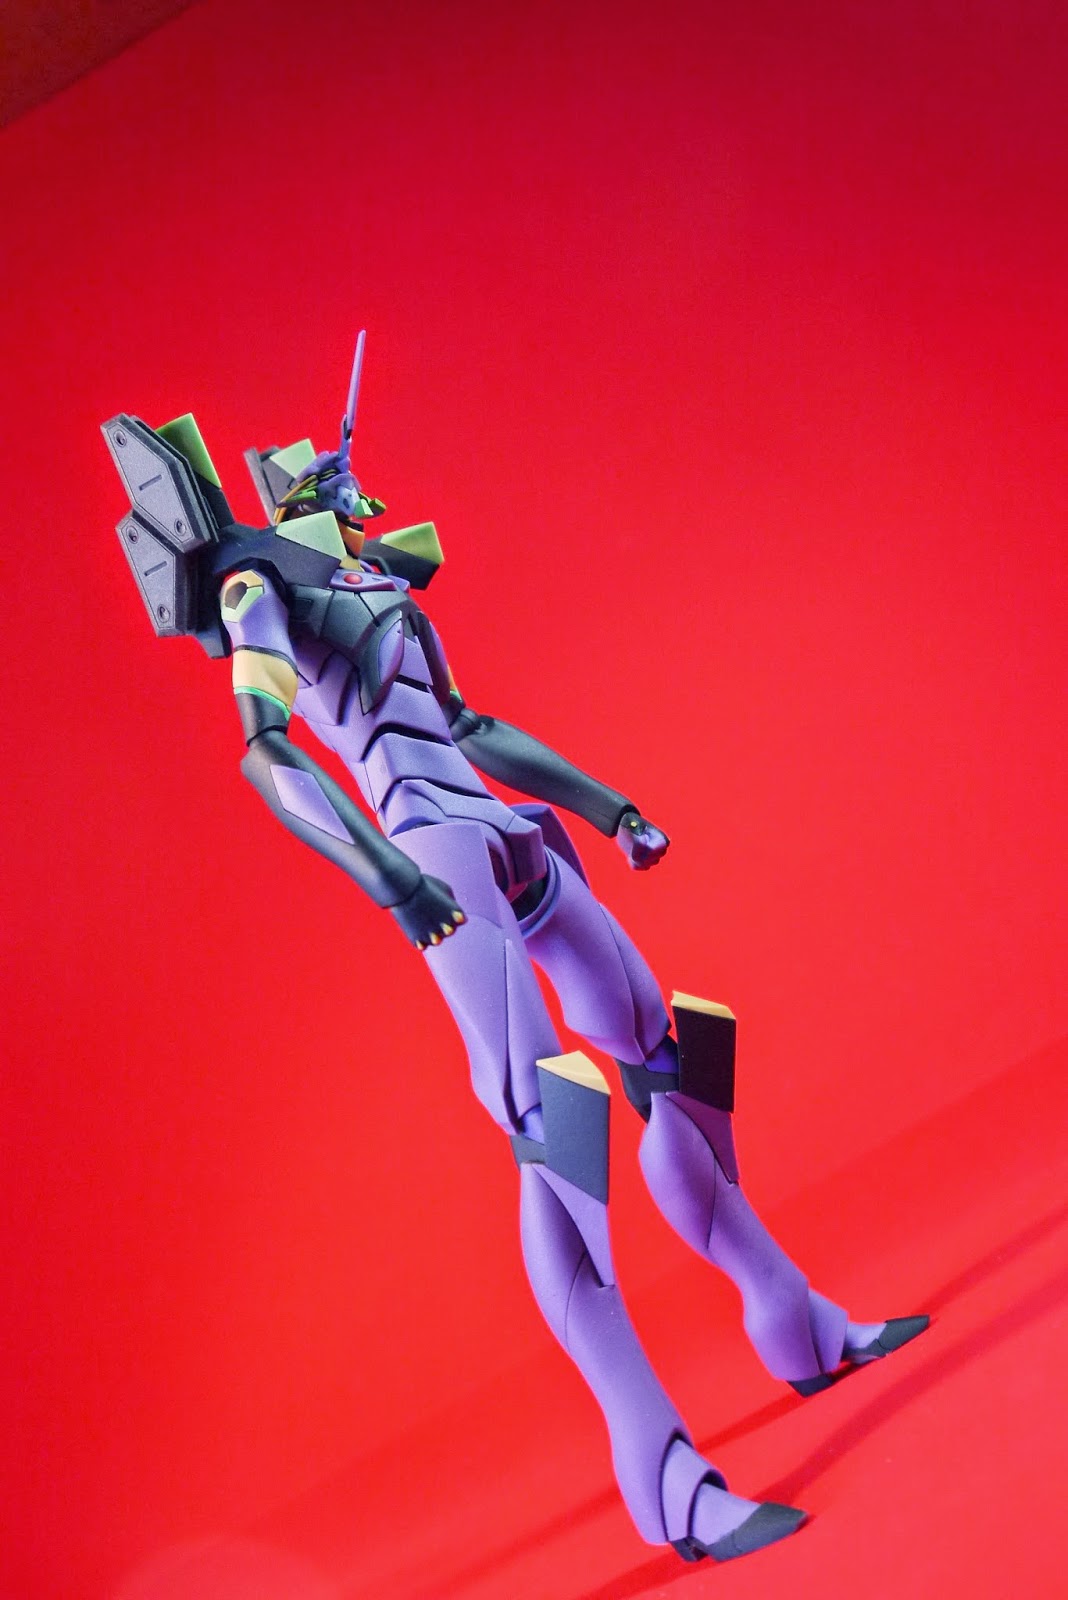
(Gallery update) you´ll notice the new pics on the gallery by the change of background, I didnt quite like the red background with this model, also I repainted the spears in to a darker red, I wanted to take a few more pics showing that this might be a kit with some problems with articulation, but you can still do some cool looking poses with the help of a stand. The starnd I used is a cheap but versatile Mini MS stand by Hobby Base, good for small or light kits, the Kotobikiya stands I´ve had so far are weak and can´t stand the kits very well, this one, while not very pleasing to the eye, gets the job done.


if youre not into painting all the model, unit 13 is for you, it requires very little paint, some pieces are pre-painted and as always with kotobukiya details are sharp, proportions are great and accurate, and this time around they give you enough polycaps and parts to complete both, the two armed, and the four armed along with two lances of longinus, and some other goodies like seven pairs of hands, Bandai usually gave us like 4 right hands and one or two useless left hands, Kotobukiya never do this they love dual wielding, just as much as I do.


As you can see on some of the pictures you can turn both of the lances into a big spear, assembly is simple and refreshing for the most part, artiuculation is not very good, specialy on the upper part of the legs, the side armor is (anime acurate) too big so it gets in the way allot when posing, also I had to do a few very simple modifications on the torso, to have the right separation between armor pieces.


But lets be honest, everyone who buys this want it because of the four arms.
Changing from two to four arms is as simple as pooping off a piece and popping on another, is very simple, the problem is, posing it and keeping the extra arms from falling.


I'm not sure if this is only on my kit but some articulations like the elbows are extra tight, while most of the kit is wobbly, again, the upper part of the legs, the feet, the torso, the shoulder armor, the extra arms shoulders, the four wrists are loose, making the kit very difficult to pose and to stand, the legs and the extra arms fall off often, again, this might be just my kit.


If you buy this kit I highly recomend that yuou buy an action base for it, it will help alot, I think for the price, kotobukiya should have included one.


this kit is a looker, kotobukiya improved allot of things from the past evangelion models, it's easy to assemble, the plastic is for the most part, soft and easy to work, sharp details great and accurate proportions, great and easy to work gimmicks but, I can't get out of my mind that this is a pricey kit, and to be honest as great as it looks, and as great as it is designed it doesn't feel like it's worth the price, and even less with a few very basic things like the detail on the torso, a great looking but pricey kit.
7/10
oh, and there's this things:

Hey there! I'm an American Evangelion fan who just got into model kitting, starting with Koto's Unit-02β. I found your blog when you reviewed that one, and was really impressed with your paintjob! I also think it was awesome that you gave Unit-08 the color scheme from Unit-05, I never liked the pink.
ReplyDeleteI was wondering if you could share your process for painting these kits? I can't seem to get it all right, especially with the tiny strips of color on the back of the shoulder fins, and the underside of the feet. I was also curious if you used any reference when you selected your paint. I just end up mixing what I have and usually I come really close, but unfortunately I can't read Japanese, so I have no idea how to get the official colors as shown in the back of the assembly manual.
Thanks for posting all of this. All the other reviews I can find just show off the models before paint, which is annoying. Keep it up, man!
Thanks man!!!
Deletemy panting process always starts on searching on the iinternet for two things, references, lots of them, and lineart, the lineart is specially useful if you want to change the color scheme, just print a few sheets with it, buy some cheap water-based markers and play with the colors until you find something you like.
After that my process of painting is first I look at the kit and the references and try to decide first if I'm going to do something different than the reference material, for example on the eva 02b I decided i wanted the restored part of the head and the mechanical arm to look more metallic, so I added accents in metallic gray instead of the neutral gray shown on the references.
but first things.. ejm.. second, I do the same as you with the colors, I work with the ones I have, and mix those, by now I have a decent amount of colors from different brands, I kind of prefer vallejo air, those are made to work with an air brush straight out of the bottle, they have excellent coverage, auto leveling and you don't need to thin them down, one or two coats and your'e done, amazing stuff, the downside is, those are expensive, the other brand I recommend is tamiya, good quality, but you need to thin them down and you'll do at least 3 coats if you're hand painting, if you work with an airbrush you'll have to do one or two coats (I think)
I rarely use primer, I don't like it, the spray primer for modeling is way to expensive, the cheap one is to thick, and the one that you can apply with handbrush is pointless, the only way I use primer is when i do a totally different color, then, I prime on the runners, then do so touch up on the nub marks.
For details like the strips on the back of the shoulder armor you can do several things, mask them with some masking tape, and do the paint or, if you feel like improving your skills, do it without masking and do it with the good old steady hand, maybe youll paint outside the disired area, no biggie you can scrap the excess paint with my favorite, versatile and my most used tool in modeling, a toothpick, if you do this kind of stuff by hand, you'll improve greatly on your painting skills not to mention on your confidence as a modeler, if you have shaky hands, no problem i have the pulse of a hiperactive hamster on cocaine, and still managed to learn how to do that.
After all the paint is done I do a transparent mate coat, this protects the paint and decals (if any) then I do the panel lines and weathering (if any) then, another transparent coat.
Please let me know if you have any doubts or if I didn't explained something right.
Thanks a bunch, man, that was really helpful. I also wanted to know, do you spray or hand paint? Getting an even coat with a brush is really difficult, especially with smaller pieces.
ReplyDeleteHow'd you manage to do the feet on your Eva kits? Like on unit-02, it looks perfect from what i can tell.
And lastly, how much of the figures do you paint? Just the parts that are left grey, or the whole thing, or only specific parts?
Im sorry for the late answer, I've been very busy.
DeleteI hand paint most of the time, I rarely do spray paint because it weakens the plastic, there are several ways to do an even coat, some guys will tell you that you should do the brush stokes always in the same direction, others, in 90 degrees between coats, and there are plenty more, I do strokes on the same direction using flat colors, for smaller pieces and details I paint straight out of the bottle, no thinning, if you do it fast enough you will have an even coat, if yo do this beware of the splatter.
the feet on unit 2 was done painting the main colors, in that case black red and yellow, then for the sole I masked around the feet, and the circle then i painted the gray.
I usually paint most of the model, rarely all of it, The only kits that I have that are completely painted are the tachikoma, the VF-19, the VF-27 and the Eva 08, the rest have different levels of paint, I usually download some black and white lineart and play with the colors there, after that I examine the runners carefully before any assembly, this allows me to decide what to do with the details before hand, I also do as much paint as I can on the runners, it gives me a better grip, then after the piece is removed, cleaned and assembled, I do some touch up
This comment has been removed by the author.
ReplyDeleteHi i hope u can reply to my comment. I recently got all the movie bandai eva kits, but i am really tempted for an eva 13. What is the scale difference between them, as in kotobukiya kits and bandai kits? Is 13 same as the bandai movie eva 01 in height?
ReplyDeleteThe kotobukiya kits are smaller than bandai kits, but 13 is supposed to be taller than the first evas so the kotobukiya unit 13 is as tall as let´s say, the bandai unit 01, but smaller than bandai's unit 08, here is a height comparison that I did on my review of the kotobukiya unit 02 http://evilmodelkits.blogspot.mx/2014/11/kotobukia-1400-evangelion-unit-02beta.html
Deletehey your paint job is stunning. did you paint the purple or did you just flat coat it? if you did paint it, can you tell me where you get the purple from?
ReplyDeleteIm looking to paint one myself! thanks!!